

Pumpkin Pie with Kernza® Crust
One 9" pie
Timing
Crust: Make at least 1 hour ahead of time (optional, recommended)
Prep: 15 min.
Cook Time: 45 min.
Rest: 1 Hr.
Total: 3 Hours.
Equipment
- One 9” pie dish (glass or ceramic)
- Rolling pin
- Fork
- Mixing bowls
- Whisk
- Pastry brush (for egg wash)
- Parchment paper
- Pie weights. Anything from dried rice or beans, to pennies, and even ceramic pie weights work. Use enough to fill the dish.
Ingredients
- "Single Crust" - Kernza Pie Crust
- One 15oz. Can (425g) Pumpkin Puree
- ½ Cup (190g, 6.7oz.) Dulce de Leche
- ¾ Cup (190g, 6.7oz.) Whole milk
- ½ Tsp (2g, 0.07oz.) Orange Zest
- ½ Tsp (2g, 0.07oz.) Vanilla extract - or half of one vanilla bean
- ¼ Tsp each of: Ground cinnamon, clove, allspice, and nutmeg
- Or substitute with pumpkin pie spice mix.
- 1.5 Tsp (8g, 0.28oz.) Salt
- ½ Cup (108g, 3.8oz.) Granulated sugar
- ½ Cup (70g, 2.45oz.) All purpose flour
- 1 Egg - Whisked


This pumpkin pie filling is straightforward and bakes wonderfully. If you are able to blind bake (pre-bake) the crust a day ahead of time, it’ll be smooth sailing. The number of ingredients that pair well with Kernza continues to grow, and now we can officially add pumpkin to that list!
Make ahead of time! For best results we recommend making the crust the day before. Use our Kernza Pie Crust recipe – “Single Crust”.
Method
- Roll out one pie dough.
- Flour your counter, the top of the dough, and your rolling pin with all purpose flour.
- Begin rolling toward you from the middle of the dough.
- Rotate the dough slightly (about 1/8th), and roll toward you again.
- Repeat this process until the dough expands roughly one inch past a nine inch pie dish the entire way around.
The dough may split in some areas, don’t hesitate to press it together with your fingers. Do this early on, and it will minimize splitting as you roll. - If the dough sticks to the counter, just lay down a little more flour.
- Once the dough is the appropriate size, wrap it around your rolling pin.
- Start from the top of the sheet, and bring the dough up and over the rolling pin towards you.
- Begin rolling your pin towards you until the dough has wrapped around it completely.

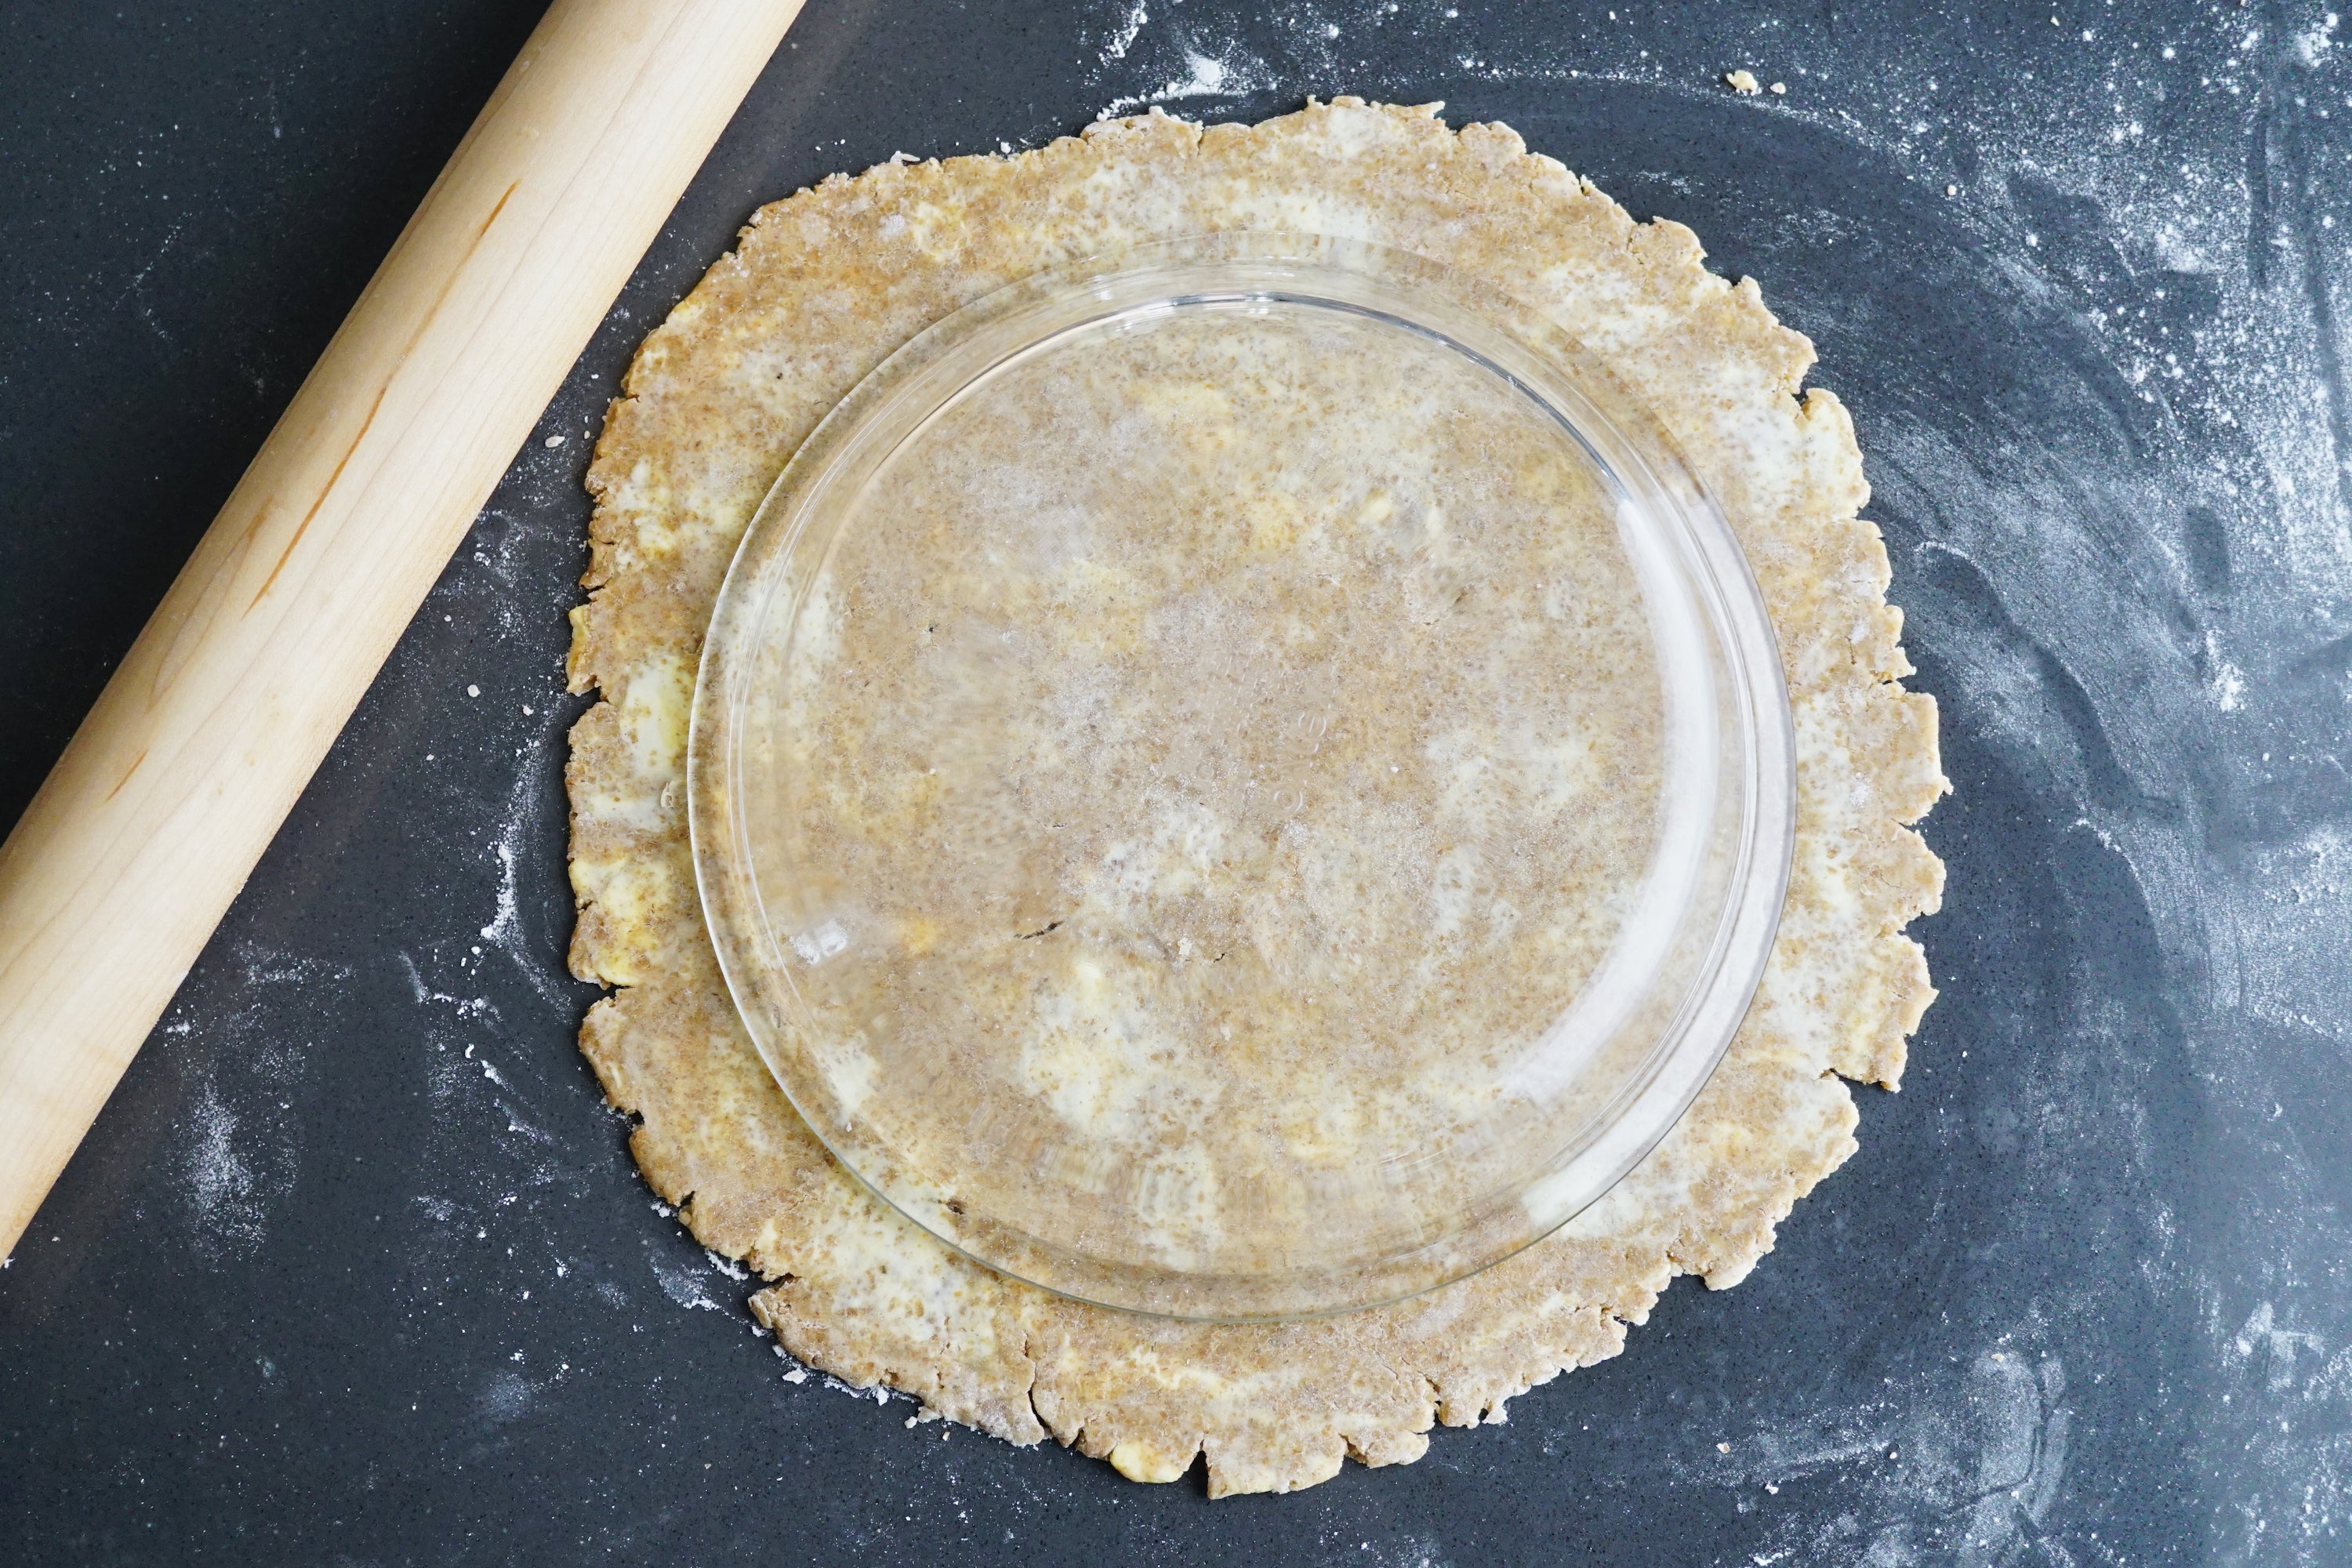
- With your pie dish in front of you, pick up your rolling pin and, moving away from you, unroll the dough over and on to the pie dish. Insert Photo: Roll Out
- When the dough is in the dish, tuck it down to the bottom by lifting an edge and gently pressing down. Do this all the way around the pie until the entire inside of the dish is in contact with dough.

- Place the dish in the fridge for 30 minutes, or the freezer for at least 10 minutes.
- Preheat your oven to 400 degrees.
- Remove the pie dish from the fridge, and trim the excess dough around the rim leaving a ½ of overhang.
- Tuck the overhanging dough underneath itself so it is resting on the ridge of the pie dish.
- Crimp the edge of the pie. If you are unfamiliar with crimping techniques, use a fork to seal the ridge of the dough to the rim of the pie dish, or head over to YouTube.
- Once crimped, lightly press the bottom of the crust to ensure the entire thing is in contact with the inside of the pie dish.
- Place the dough in the fridge (30 minutes) or freezer (10 minutes) one more time.
- When time is up, remove the dish, and score the bottom surface of the dough with a fork.

- Place a layer of parchment paper inside of the pie dish, and add your pie weights.
- Be sure to move the weights around and make folds in the parchment to ensure there are no open areas: Everything should be touching dough (the crimped edge can be exposed).

- Once your oven has preheated, Insert the pie crust (weight included) on a lower rack.
- Set a timer for 15 minutes
- When time is up, remove the pie weight, and place the crust back in the oven for another 7 minutes.
- Take the crust out of the oven, and brush the bottom with your whisked egg
- Act as though you are filling in the holes made by the fork, and brush the egg mixture ¾ up the side of the crust.
- You won’t need to use the entire egg. Once one even layer has been applied, that’s enough.
- Rest the crust until it is completely cool: 1-2 hours up to overnight.
- In a mixing bowl, combine flour, sugar, cinnamon, allspice, clove, nutmeg, and salt. Mix well, and break up any larger chunks.
- In a separate bowl, combine pumpkin puree, dulce de leche, milk, orange zest, and vanilla extract
- Whisk vigorously until the small bits of dulce de leche have dissolved, and the mixture looks homogenous.
- Add the flour mixture to the pumpkin mixture, and whisk until everything is well incorporated. Leave at room temperature.
- If making filling ahead of time, remove it from the fridge for about an hour to allow it to warm up.
- Preheat your oven to 375 degrees
- Once preheated, pour the filling into the crust, and gently shake/twist the pie until the filling has evened out.
- Brush the crimped edge with a layer of egg wash
- Place the pie in the oven on a lower rack, and bake for 45 minutes, rotating 180 degrees halfway through.
- When finished, the center of the pie should jiggle very slightly or hardly at all.
- Allow the pie to cool for at least an hour. Ideally, you should be able to hold it comfortably in the palm of your hand before slicing into it.